Grow Healthier Plants: Build a Self-Fertilizing Raised Bed with Worms
A good and thriving garden always keeps secrets. Yes, today we want to talk about the secrets to garden success, especially metal raised garden beds. While we searched for everything we could possibly find, one thing stood out as the most successful way to create self-fertilizing raised beds. It’s garden worms!
Specifically, we focused on building self-fertilizing raised garden beds with the magic of worms. This is a fantastic method that reduces the need for chemical fertilizers. It creates a sustainable ecosystem that will naturally feed your plants.
We can only imagine how interested you are in this, so let’s get started!
Why Use Garden Worms in Raised Beds?

Garden worms (especially the composting varieties) are like tiny underground farmers. They work nonstop to improve the quality of the soil. They break down organic matter, produce nutrient-rich castings, and aerate the soil.
In self-fertilizing raised garden beds, worms are a must – you add them to serve as a compost that will last for a very long time. This approach is perfect for those of us who want to:
- Reduce food waste
- Avoid synthetic fertilizers
- Improve soil structure and water retention
- Grow stronger, healthier plants
Best Worms for Raised Garden Beds

Before you begin working on your garden, there is one thing you need to know. Not all worms are the same. To succeed, you need worms that are excellent at breaking down organic matter. Also, they need to quickly reproduce and thrive in the top layers of soil where the composting process happens.
Here are the best worms you can use for your raised garden beds:
- Red Wigglers - These are the perfect worms for composting. These guys love to eat any decaying matter and can consume up to half their body weight in food on a daily basis. They're ideal for raised beds.
- European Nightcrawlers - Slightly larger than the Red Wigglers, these can also do a great job at composting. They're a bit more tolerant of colder temperatures, which is why they dig deeper into the soil, and by doing that, they aerate the lower levels of the bed.

Red Wigglers vs. European Nightcrawlers
Choosing between Red Wigglers and European Nightcrawlers comes down to our specific needs and conditions. Take a look at these below:
| Trait | Red Wigglers | European Nightcrawlers |
|---|---|---|
| Composting Efficiency | Excellent | Very Good |
| Soil Aeration | Moderate | Excellent |
| Temperature Tolerance | Moderate | Better for cool climates |
| Reproduction Rate | Very High | Moderate |
| Depth of Burrowing | Top 6 inches | Up to 12 inches or more |
| Best For | Quick composting in warm temps | Cooler climates and deep soil |
If you live in a warm region and want rapid composting, Red Wigglers are your best bet. Alternatively, if you’re in a cooler area or want more aeration, European Nightcrawlers are more suitable.
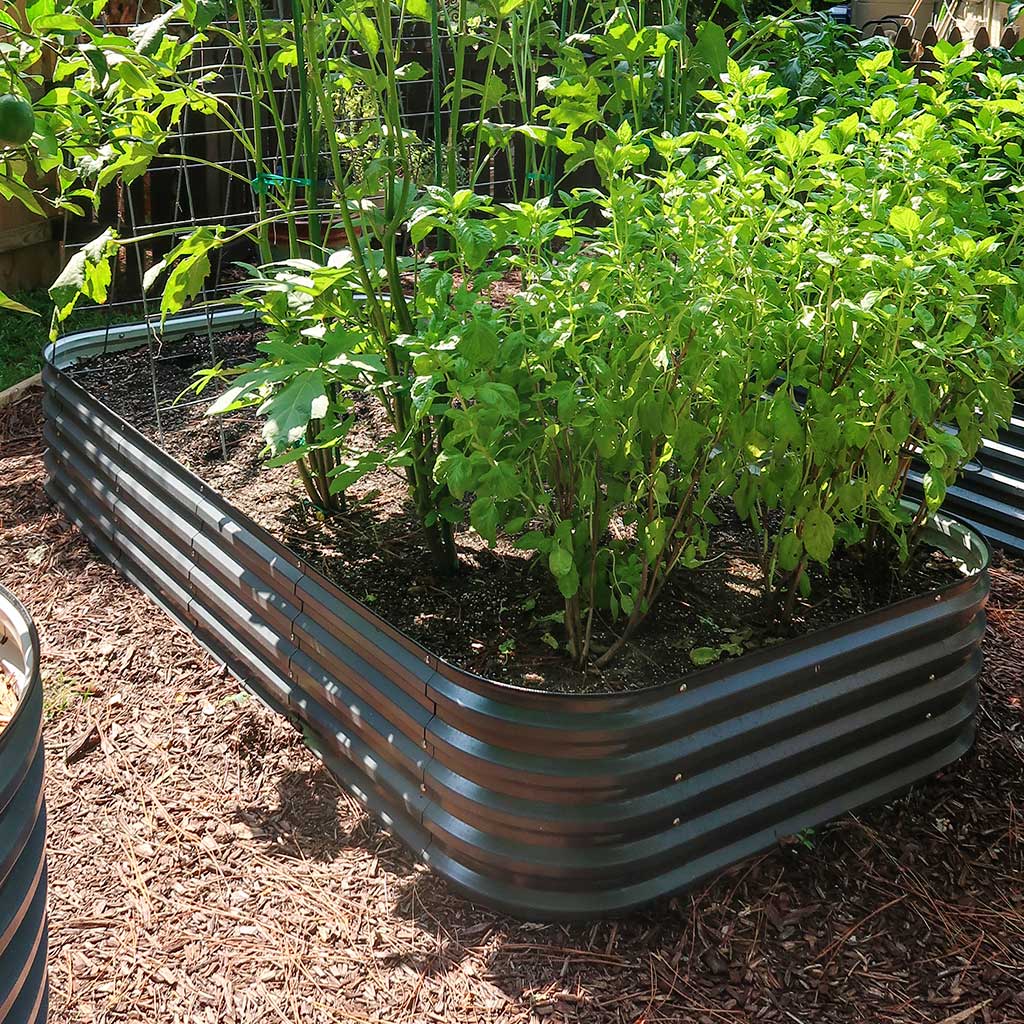
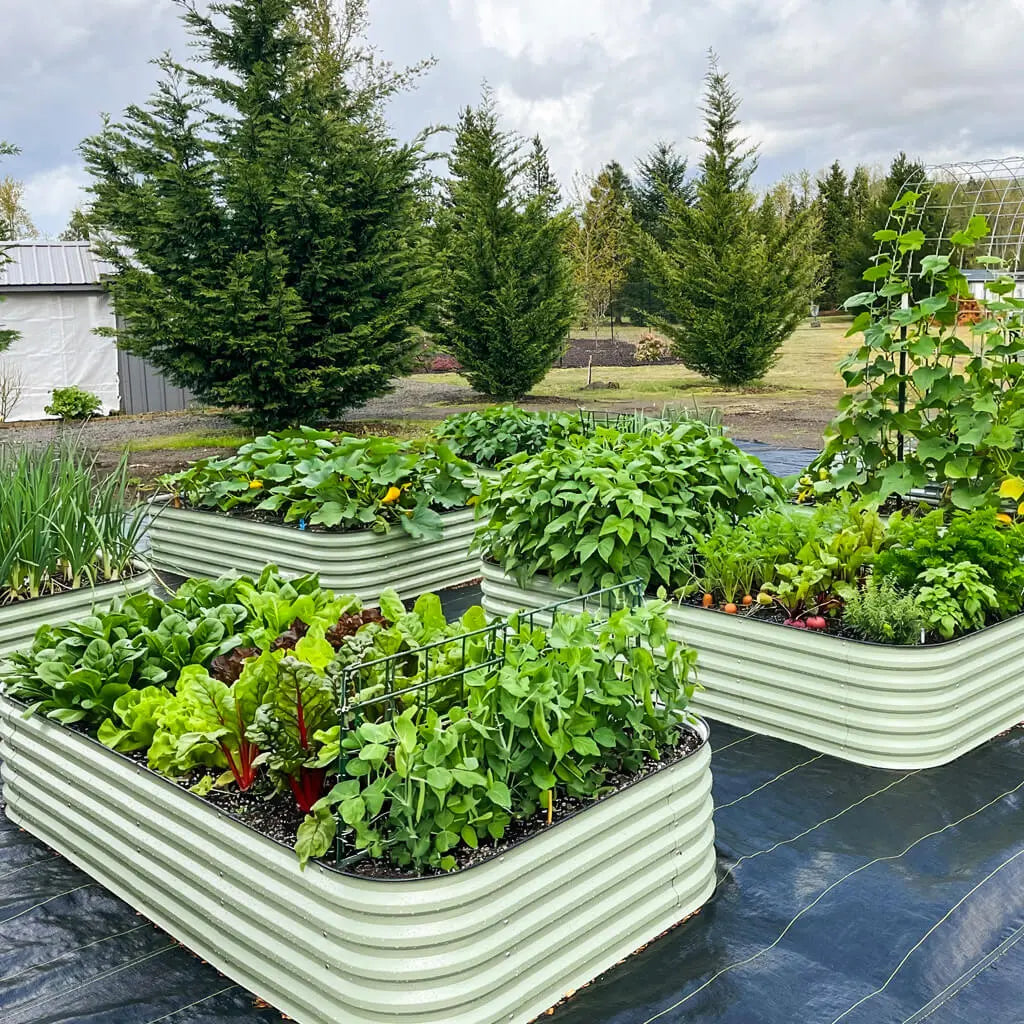
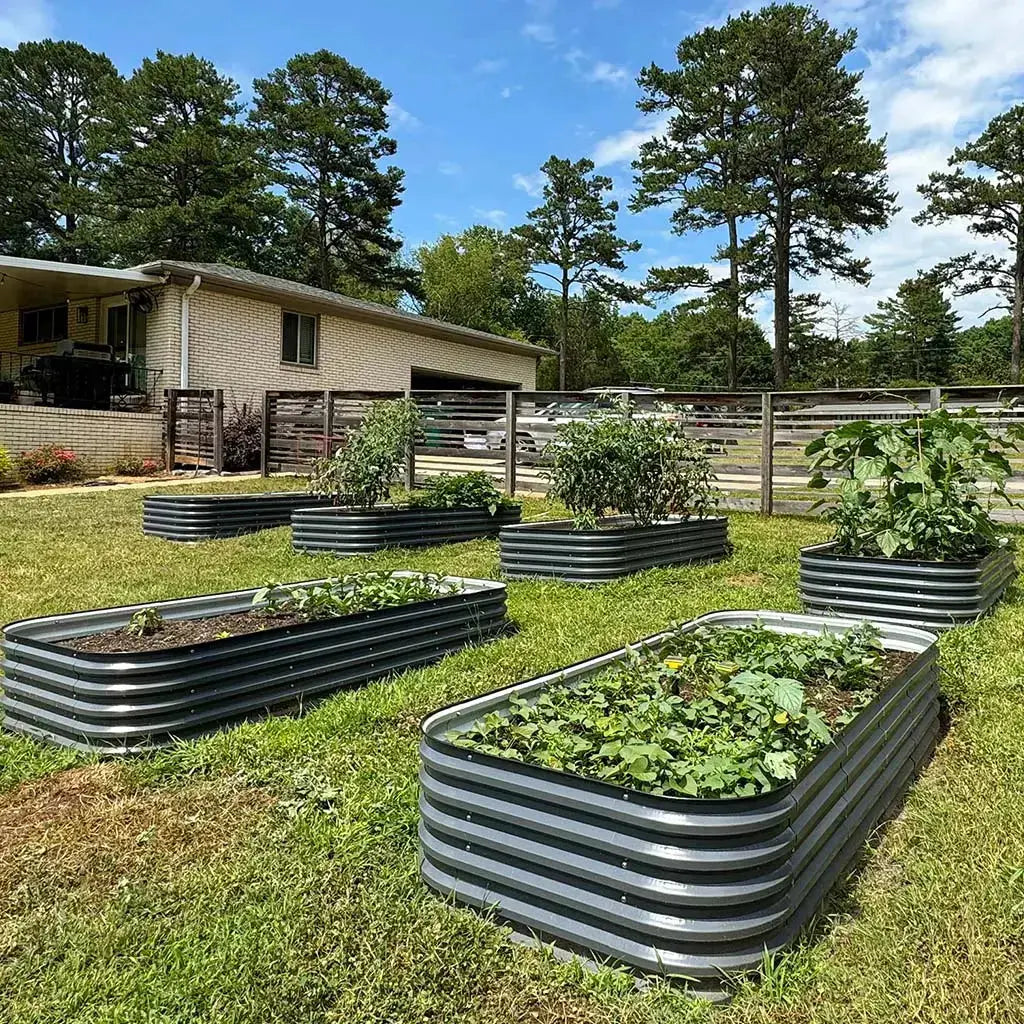
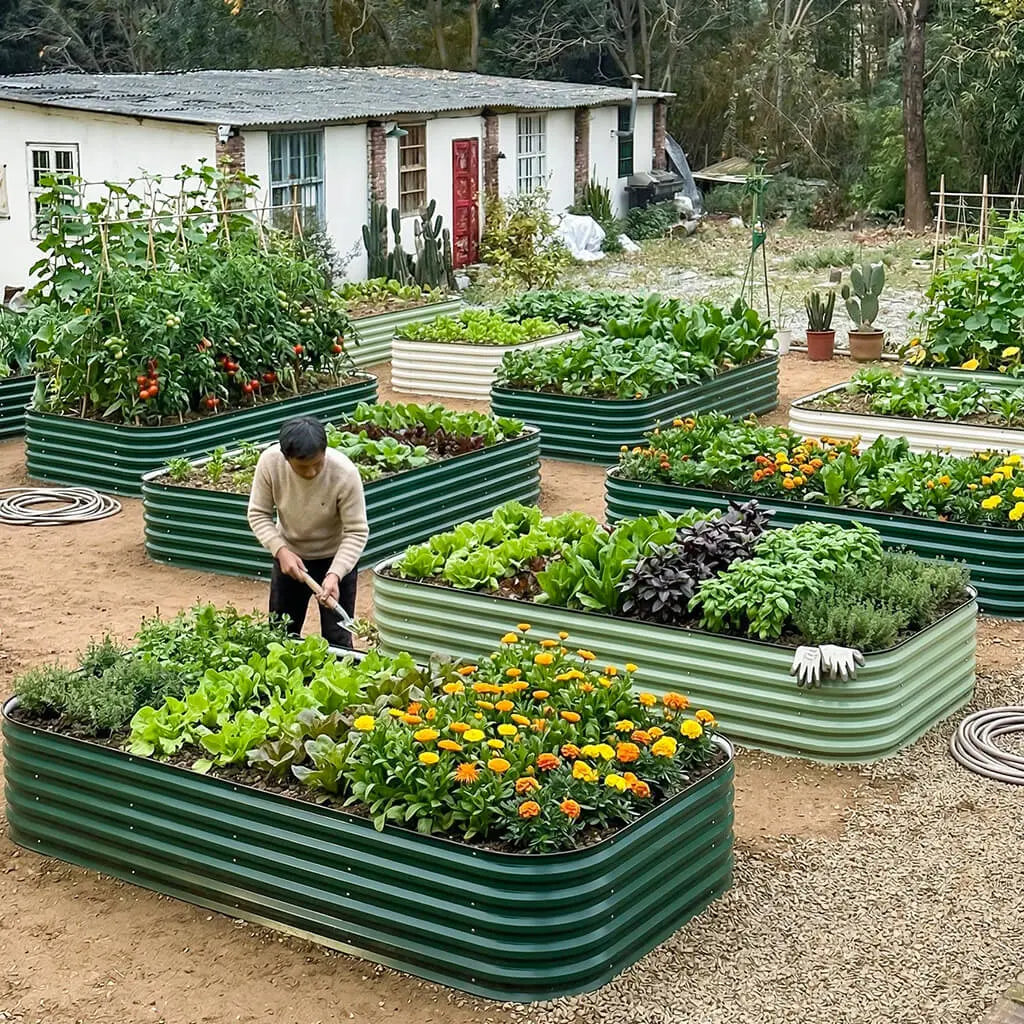
Setting Up a Self-Fertilizing Raised Garden Bed

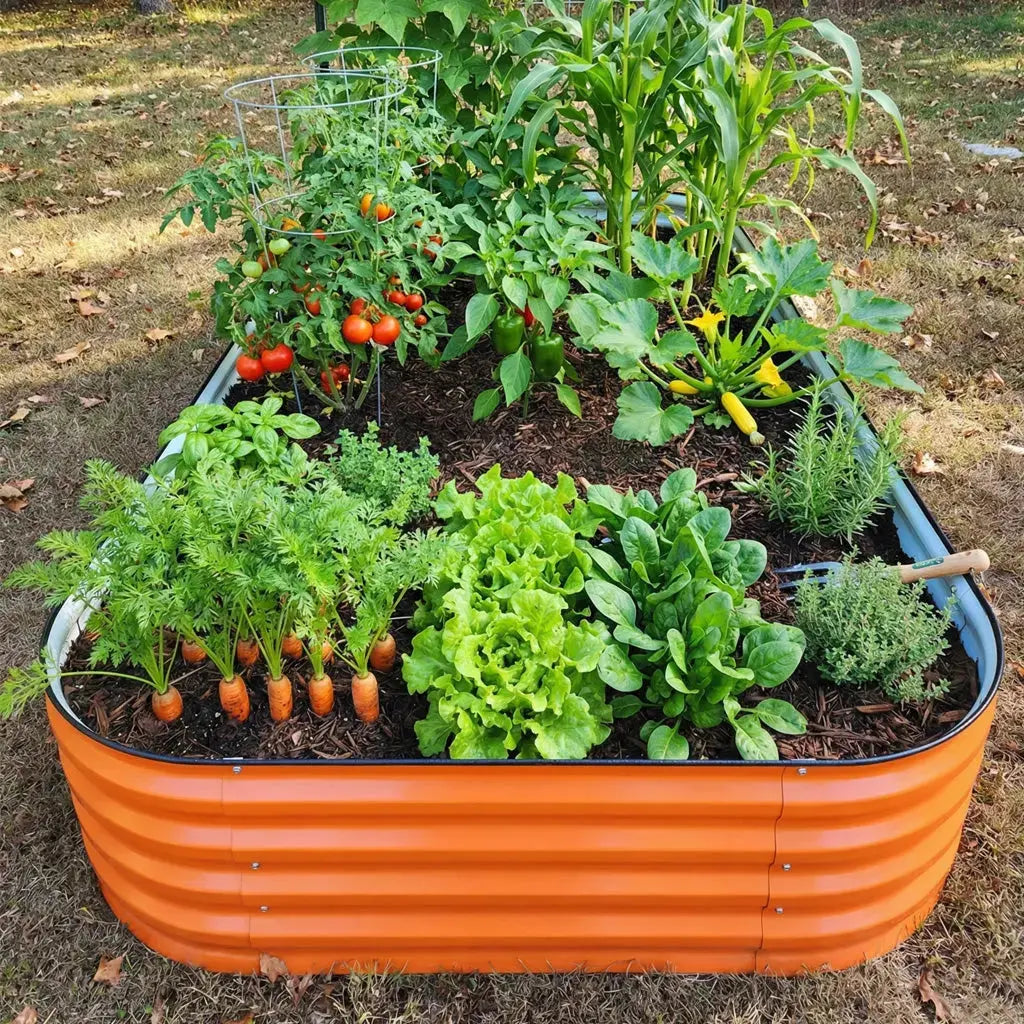
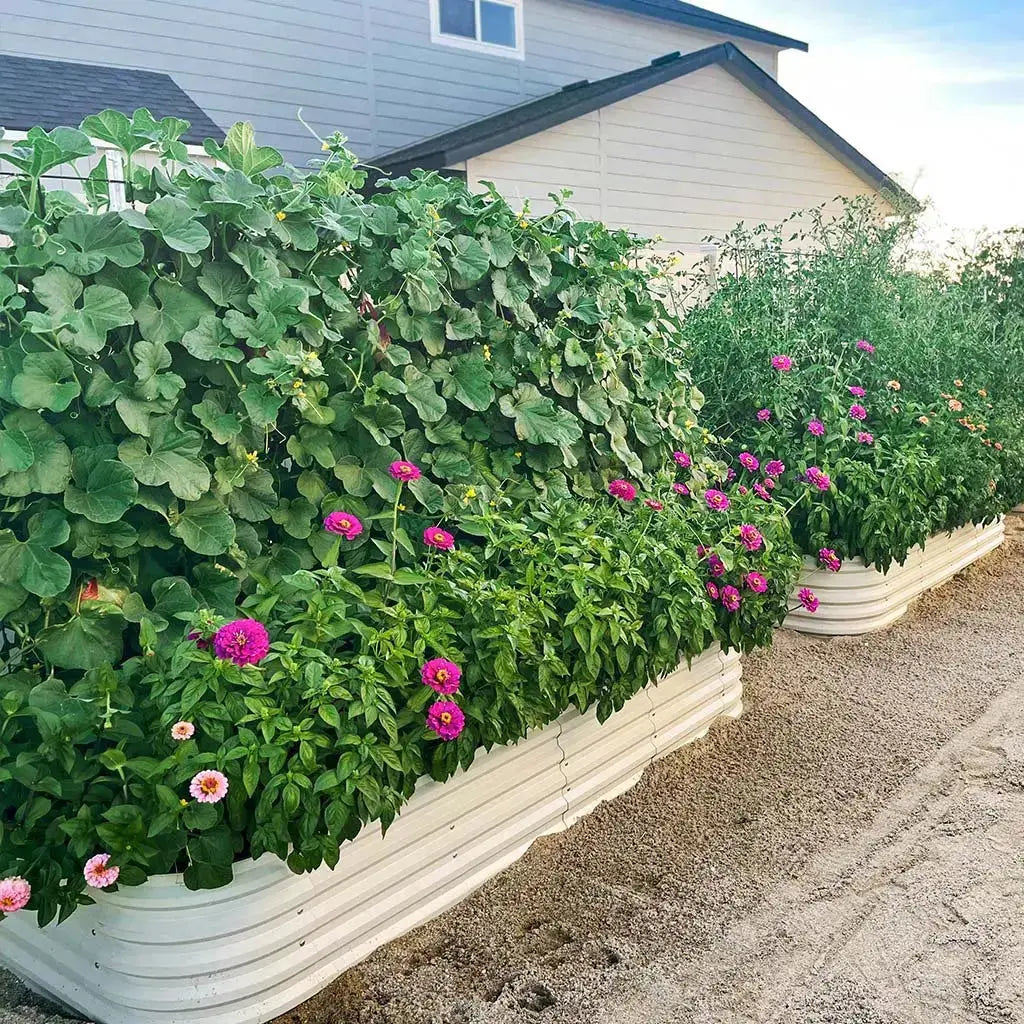
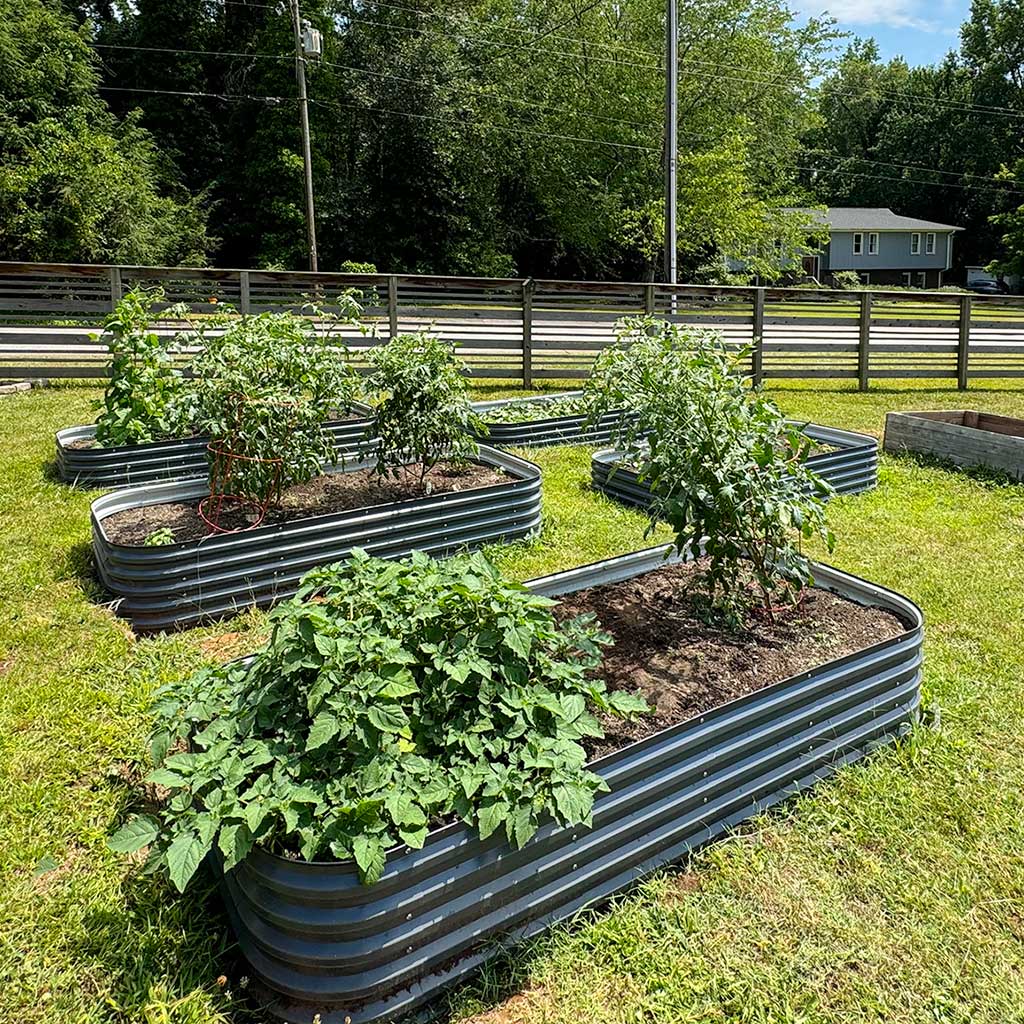
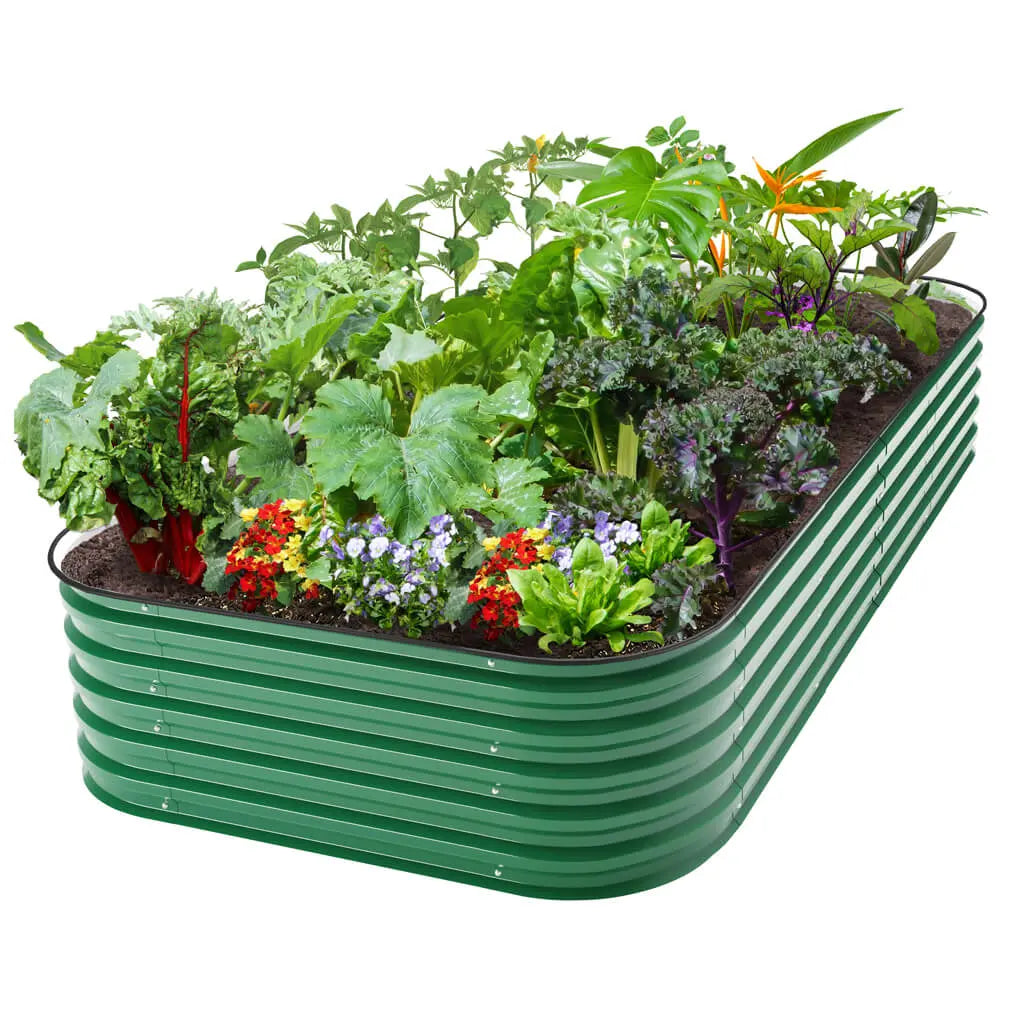
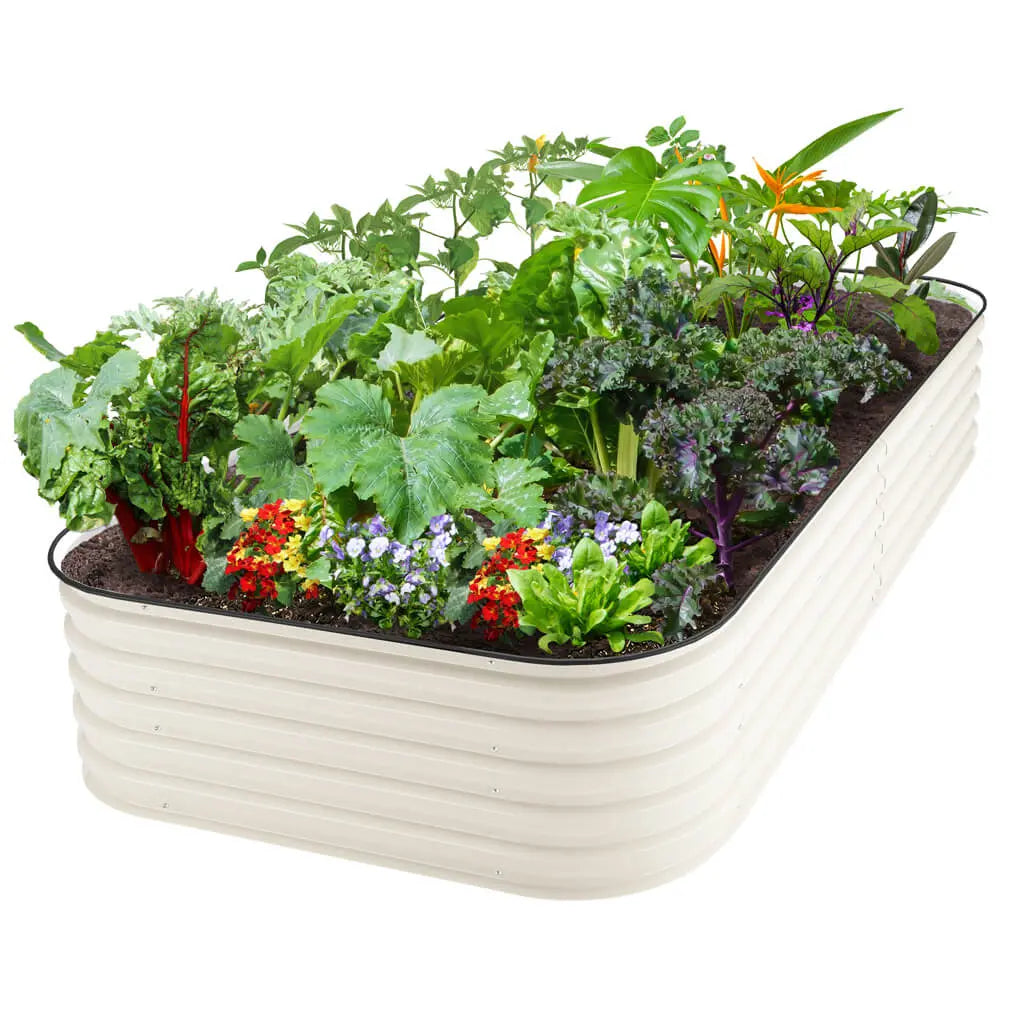
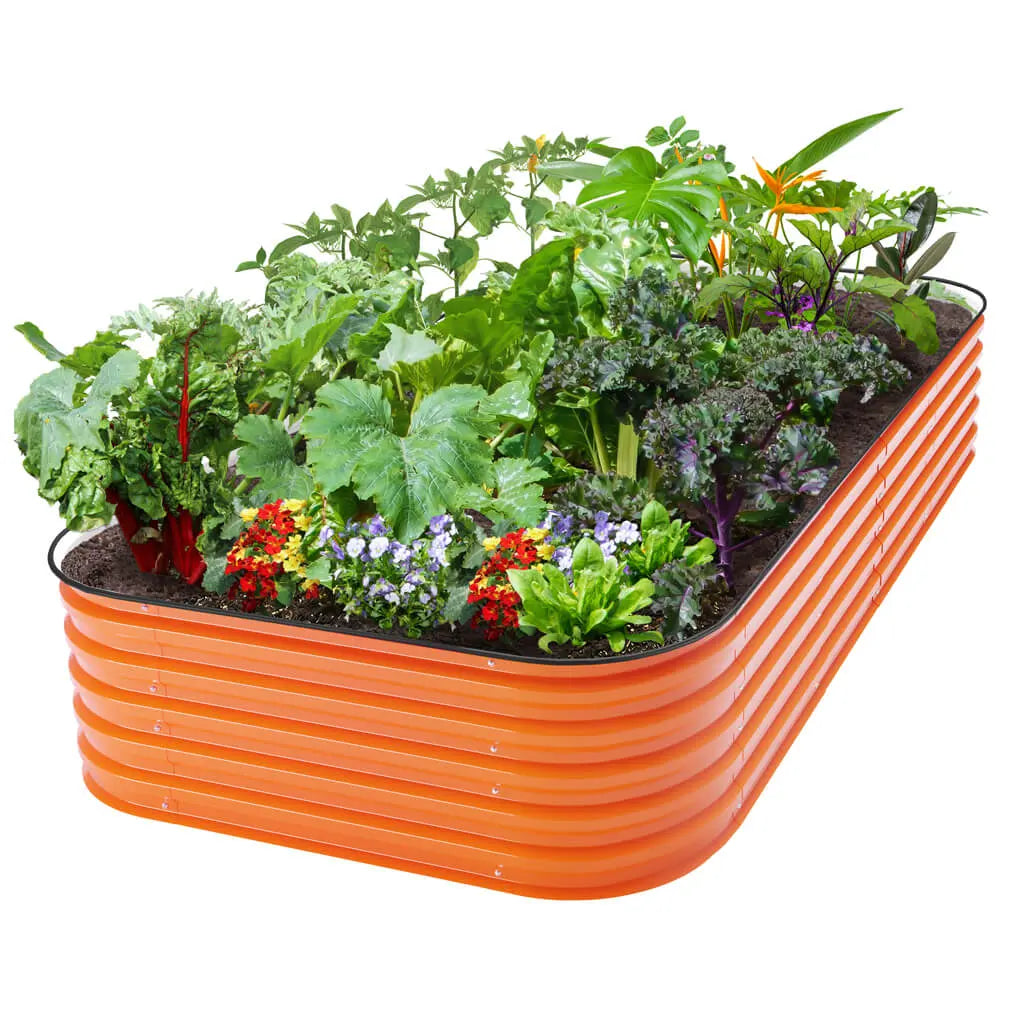
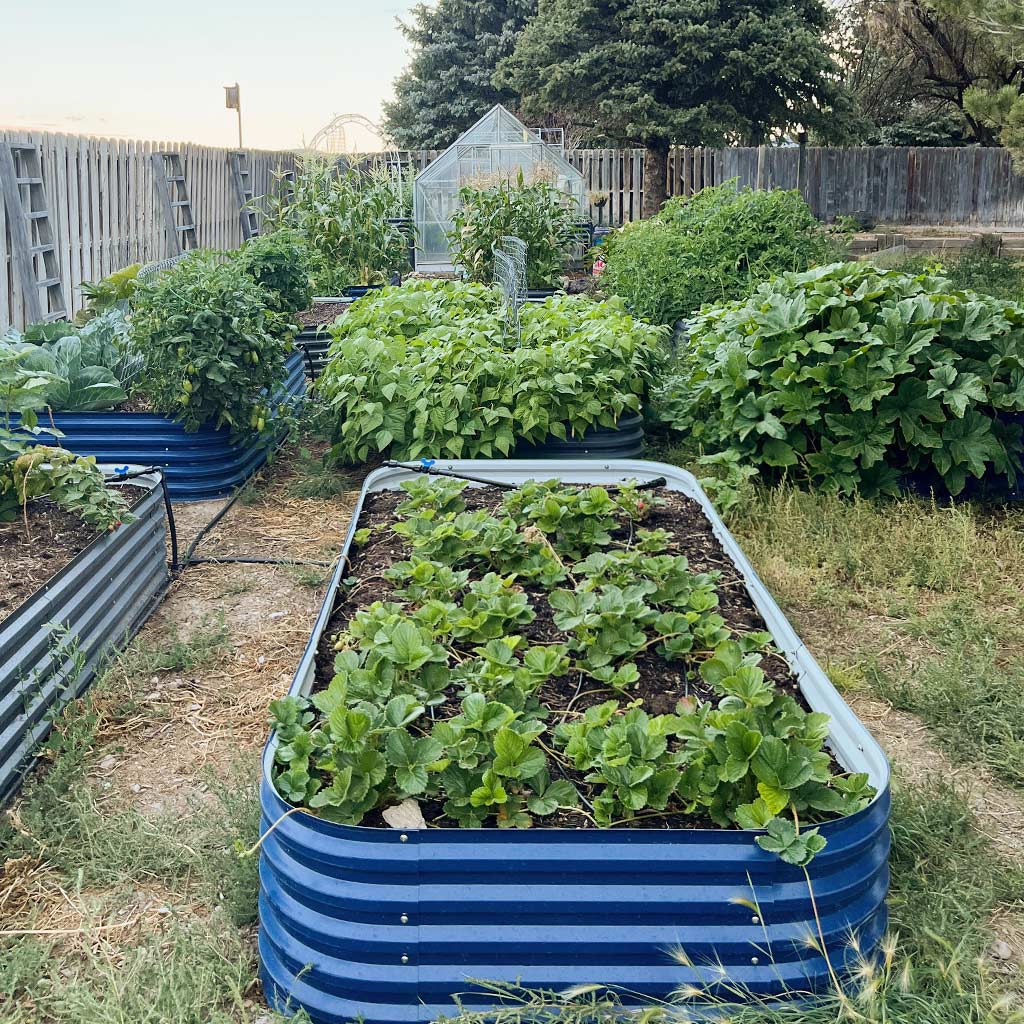
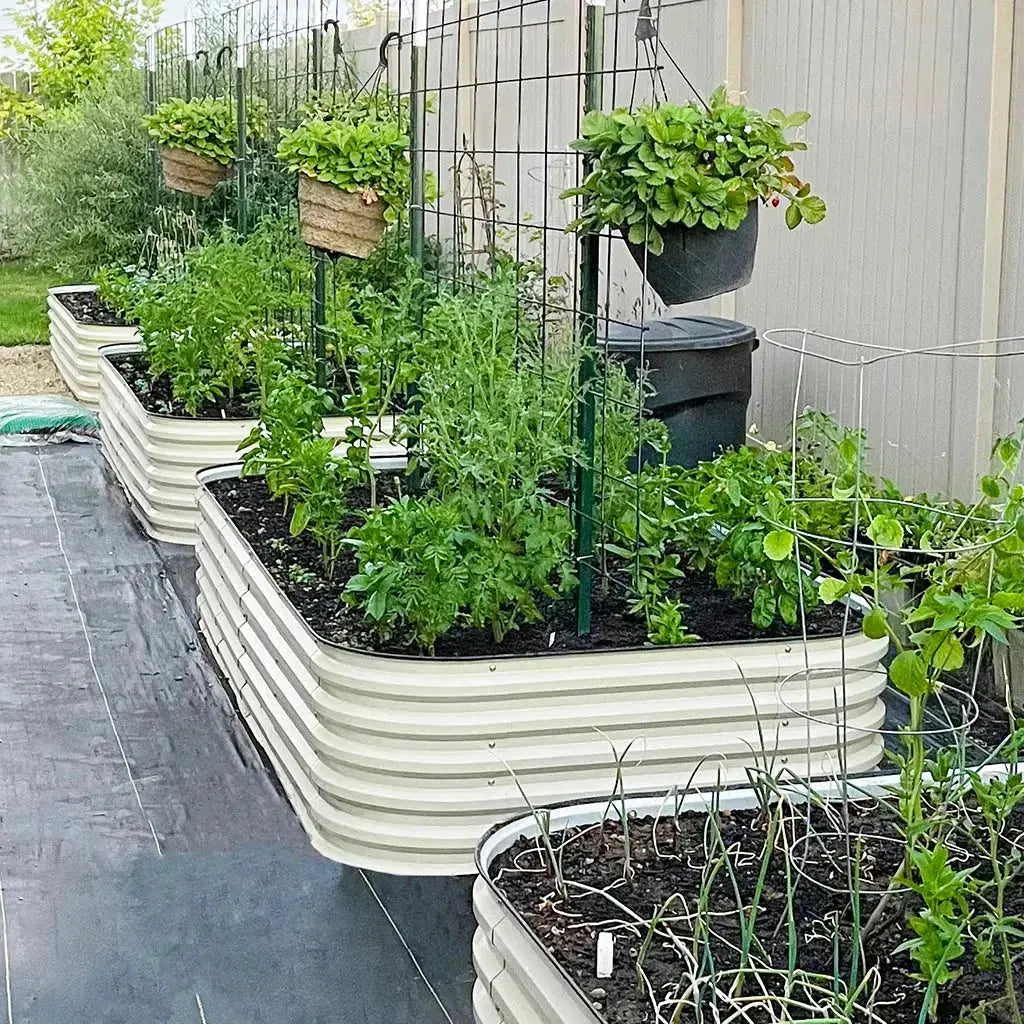
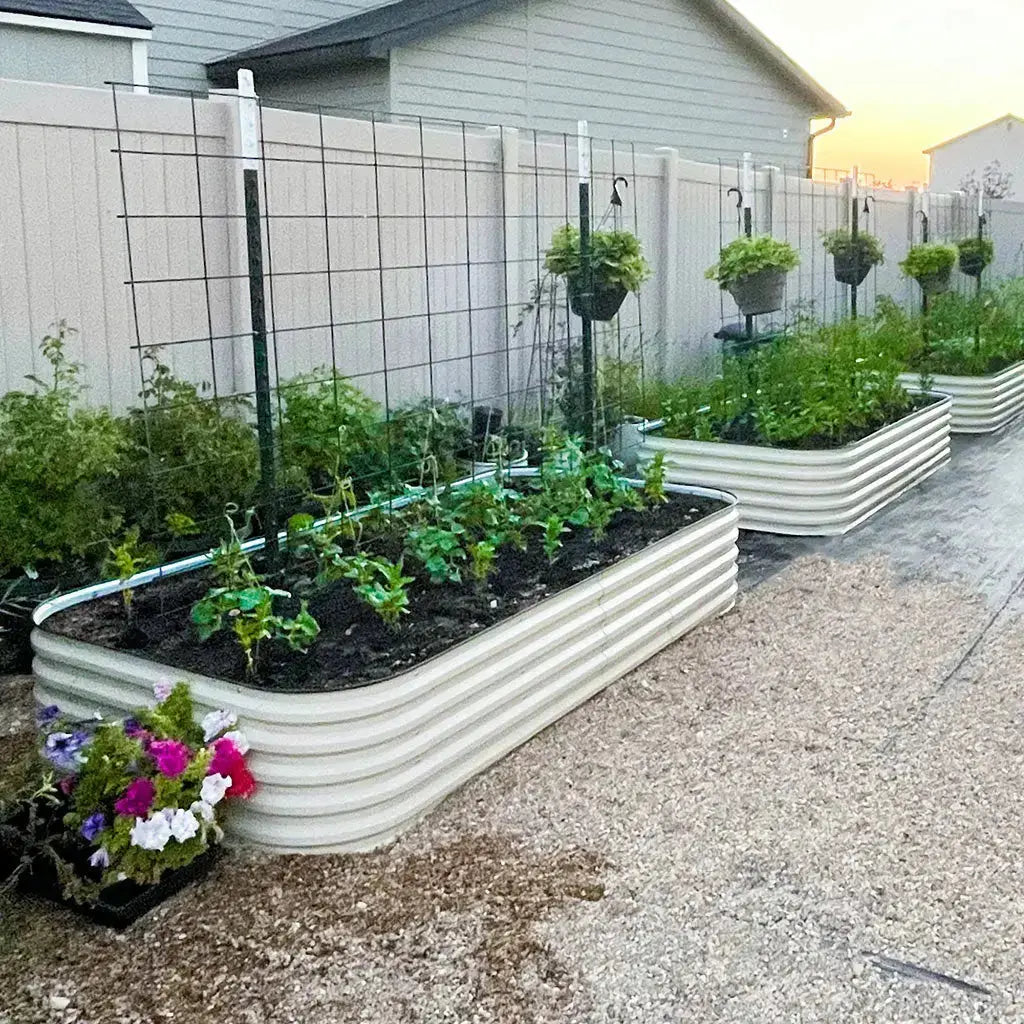
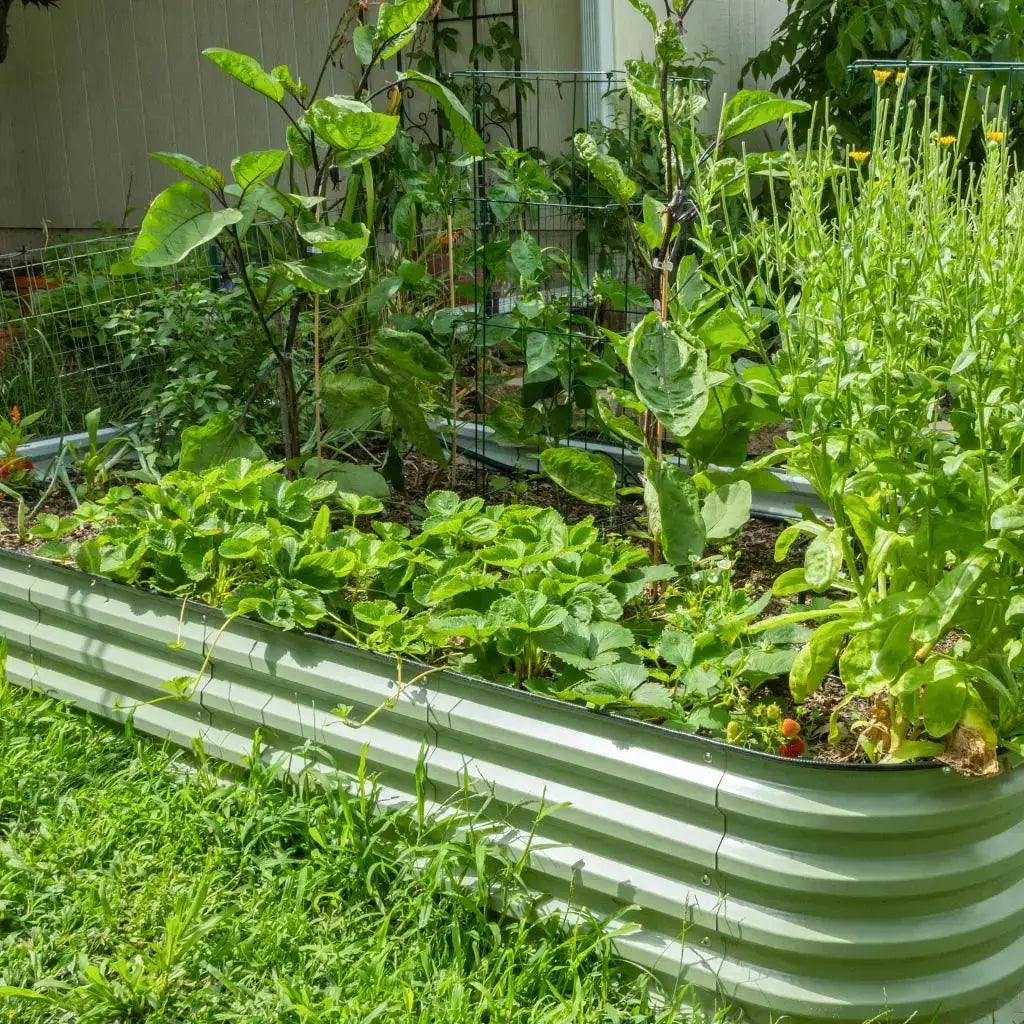
Creating a self-fertilizing system starts with a well-structured raised bed. We recommend using a tall, sturdy metal raised bed like the models you can find on our site. The goal here is to give the worms a lot of space.
Here is how to successfully create a self-fertilizing raised garden bed:
- Layering for Success - Think of your raised bed like a lasagna. Try to layer organic material to build a perfect home for the garden worms.
- Base Layer - Add coarse materials like twigs, branches, or dry leaves. This improves drainage and airflow.
- Brown Layer - Include shredded newspaper, straw, or cardboard.
- Green Layer - Add kitchen scraps like fruit and veggie peels, coffee grounds, and eggshells.
- Compost or Aged Manure - Introduce partially composted material to jumpstart the breakdown.
- Topsoil and Worm Castings - Add 2-4 inches of topsoil mixed with worm castings.
- Add Worms - Introduce our chosen worms - Red Wigglers, European Nightcrawlers, or a mix of both.


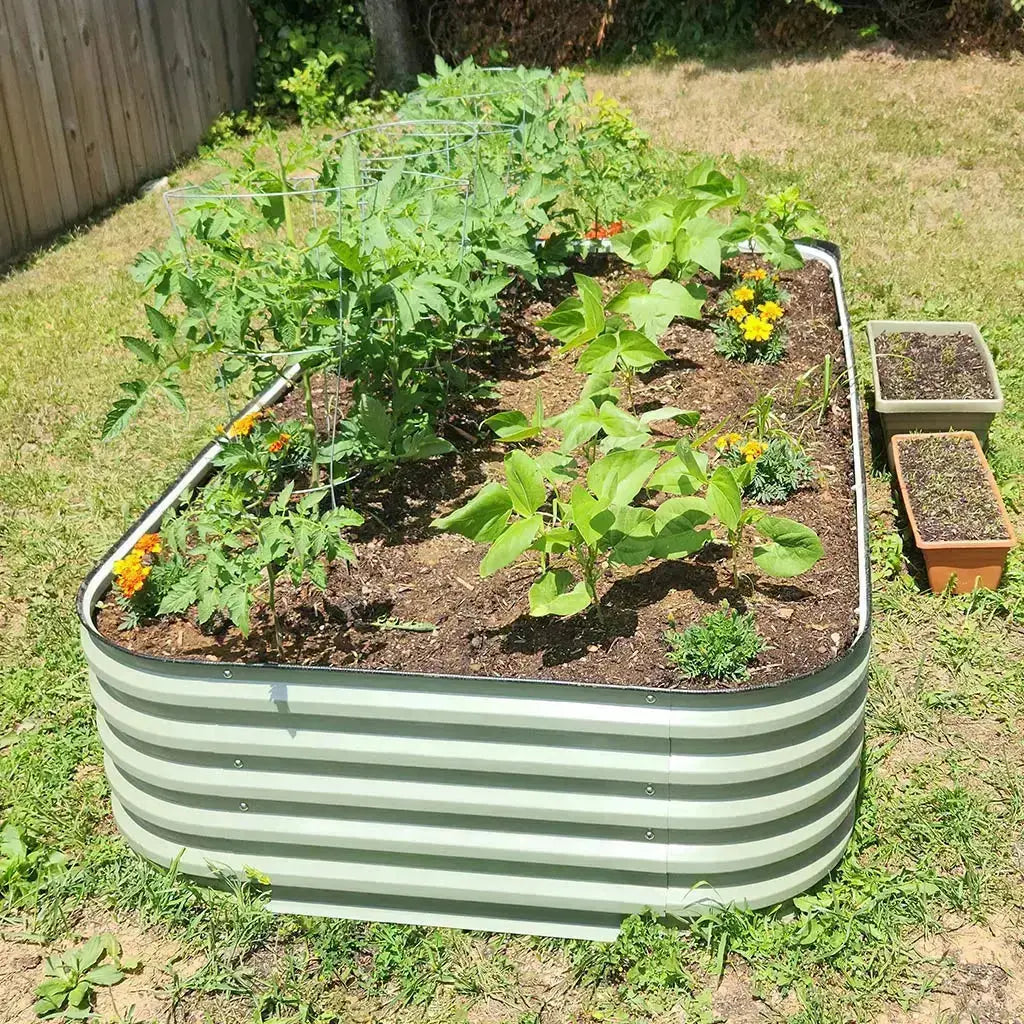

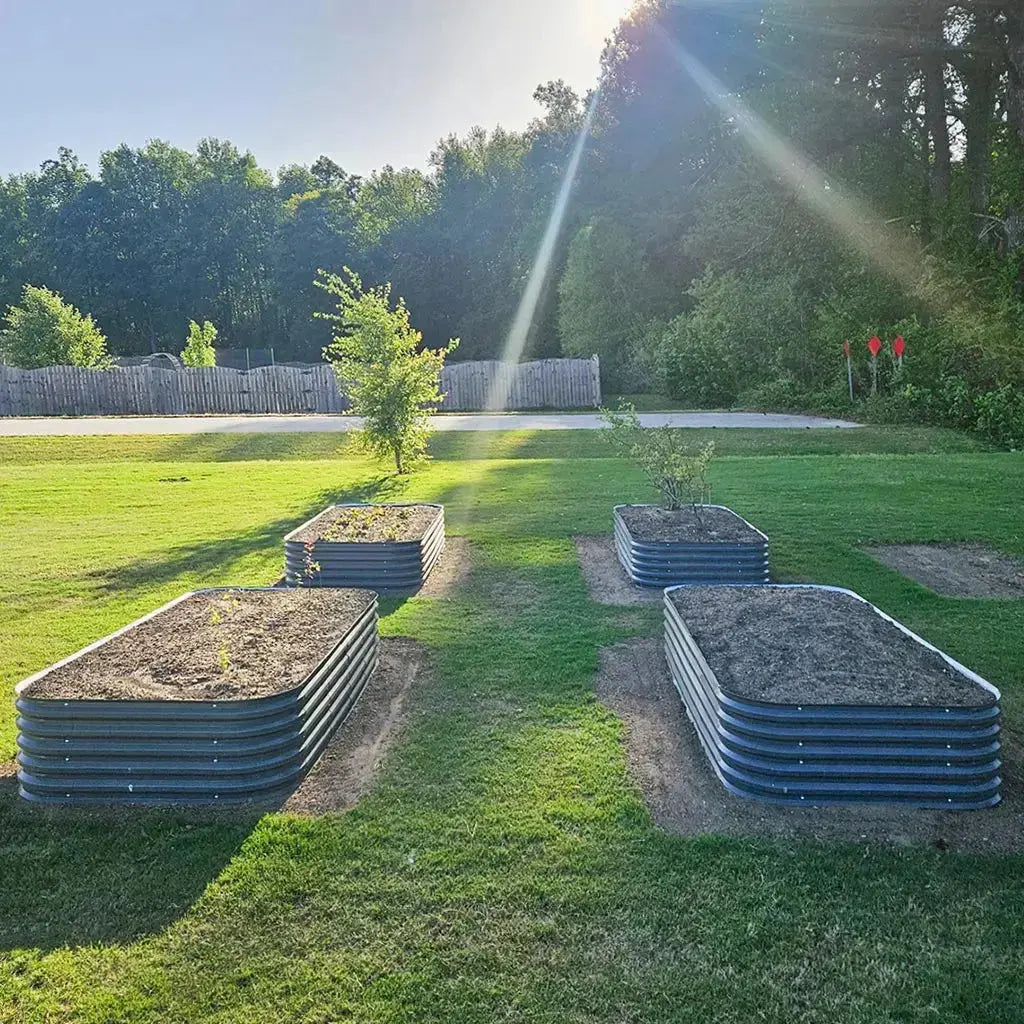


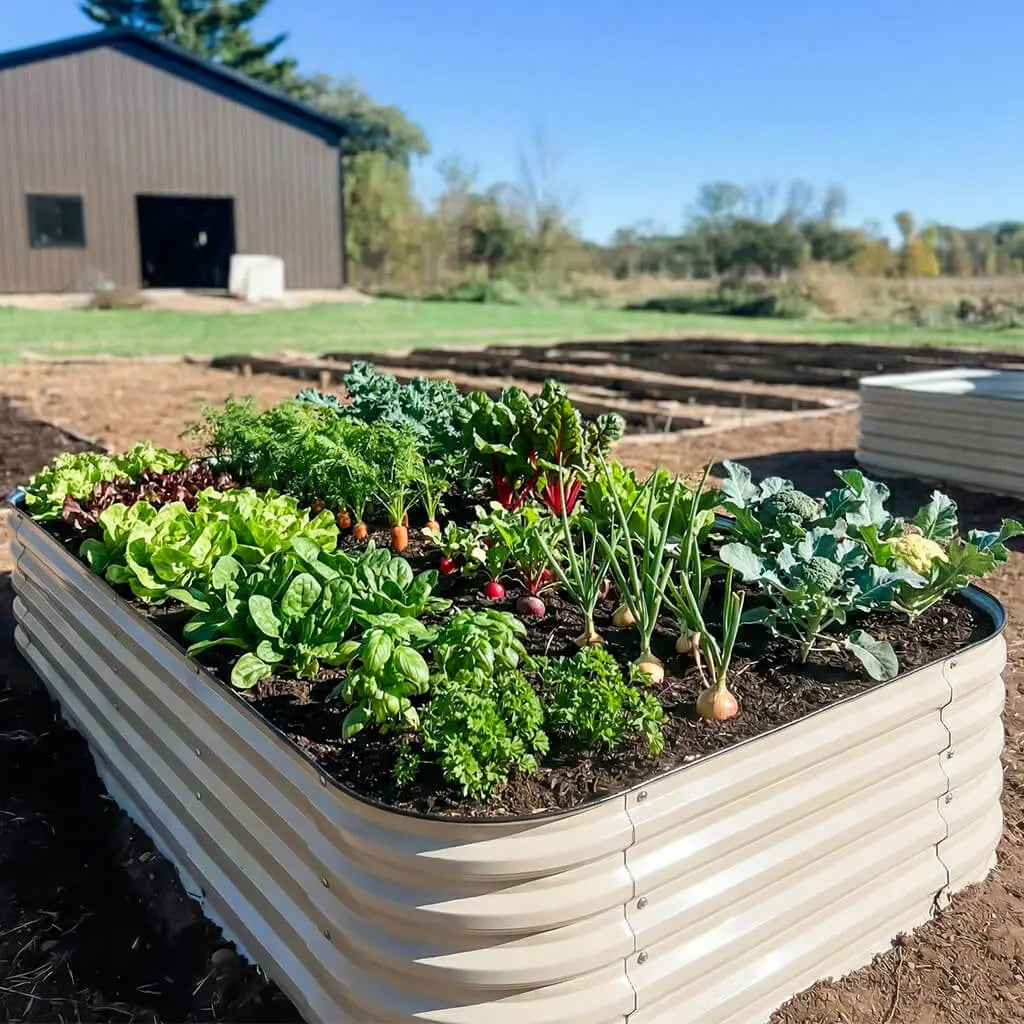
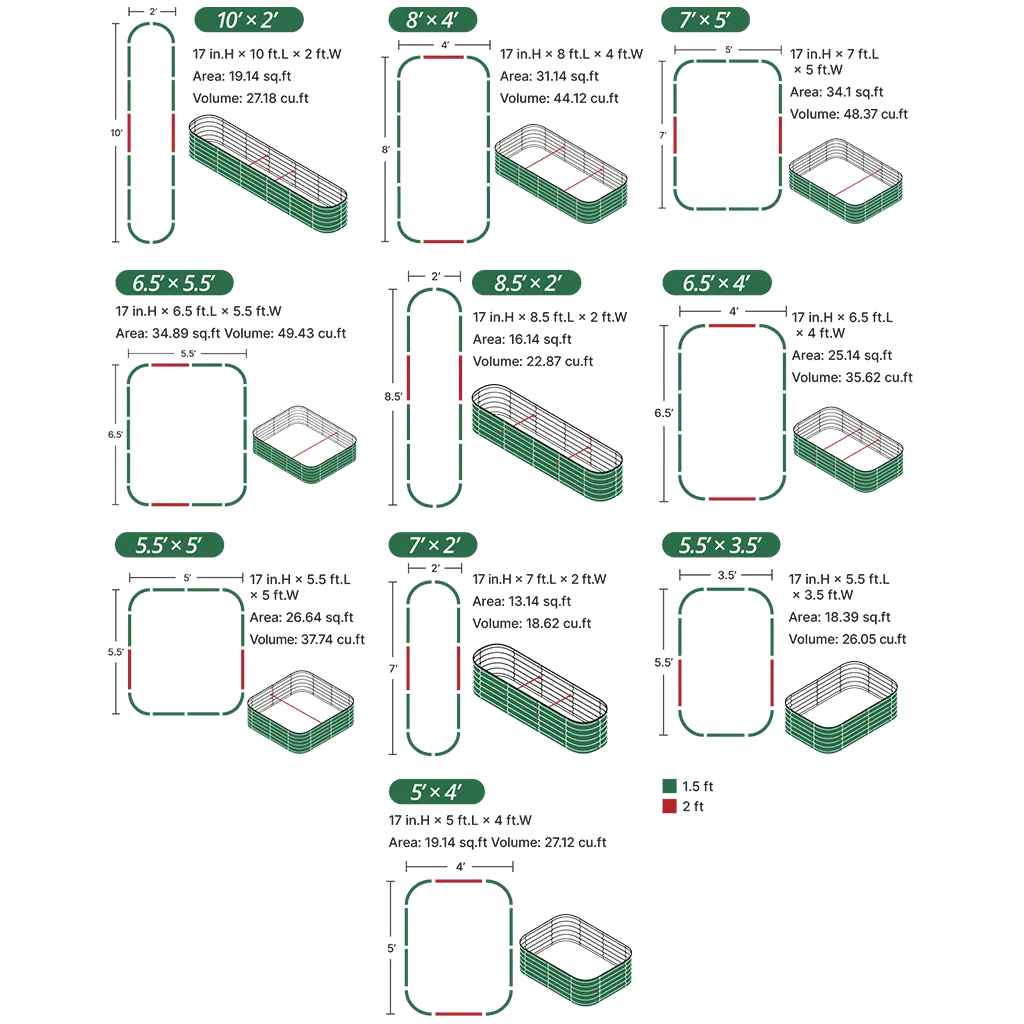


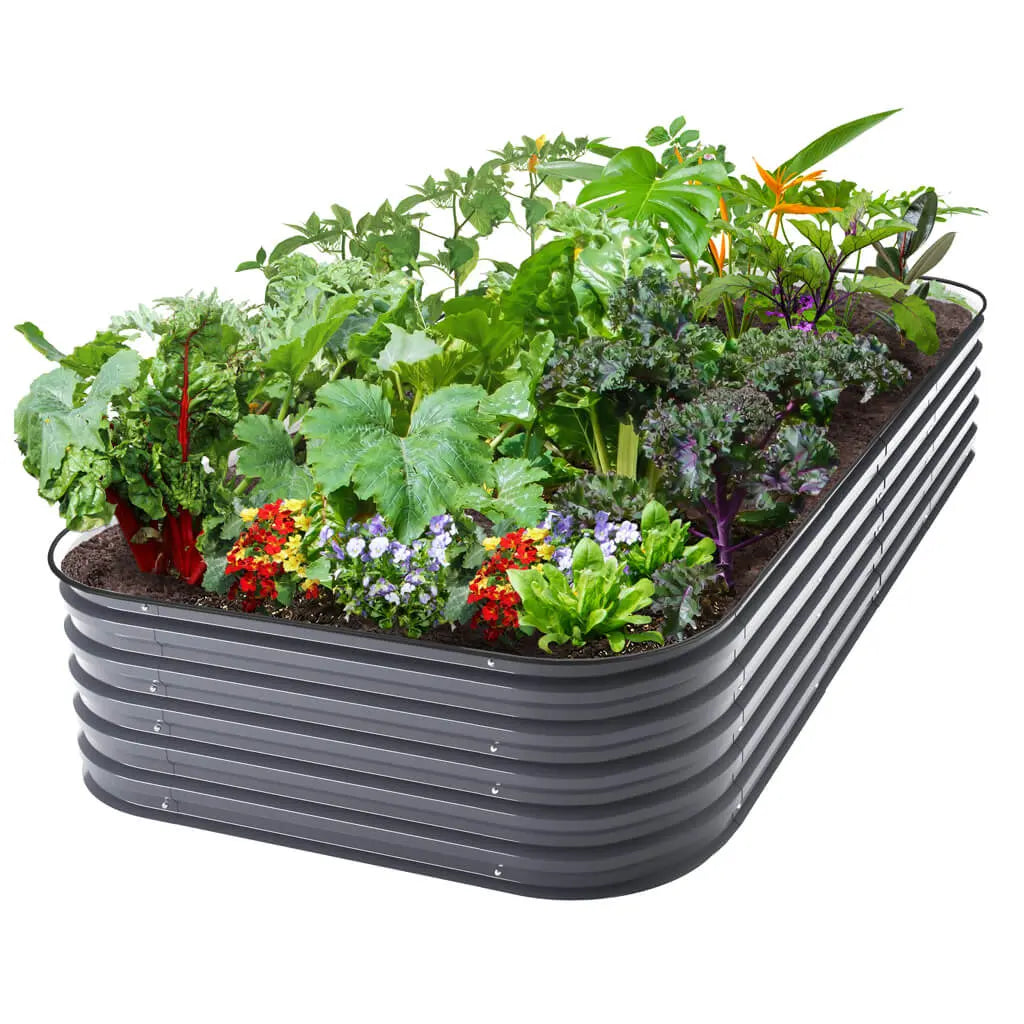


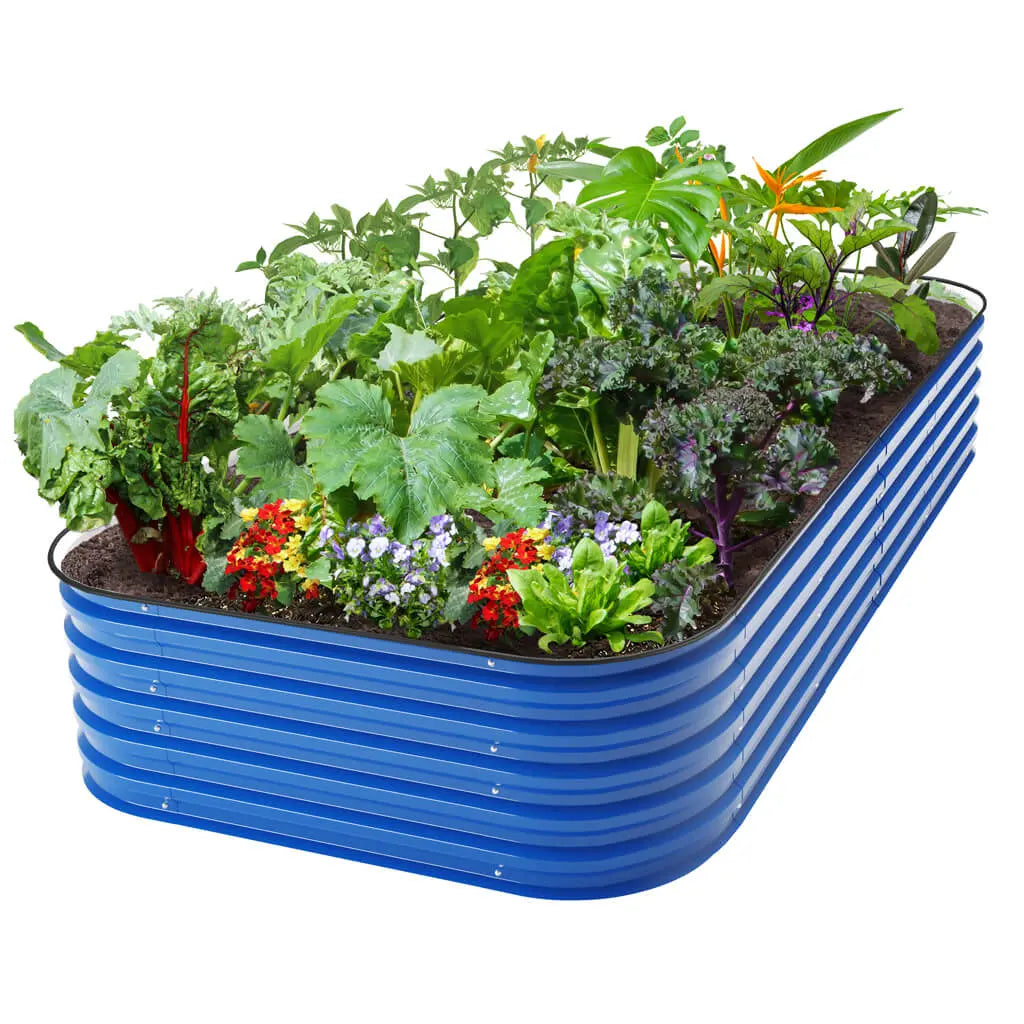

17" Tall 8x4 ft Knee-High Metal Raised Garden Bed (10 in 1) | Upgrade 2.0
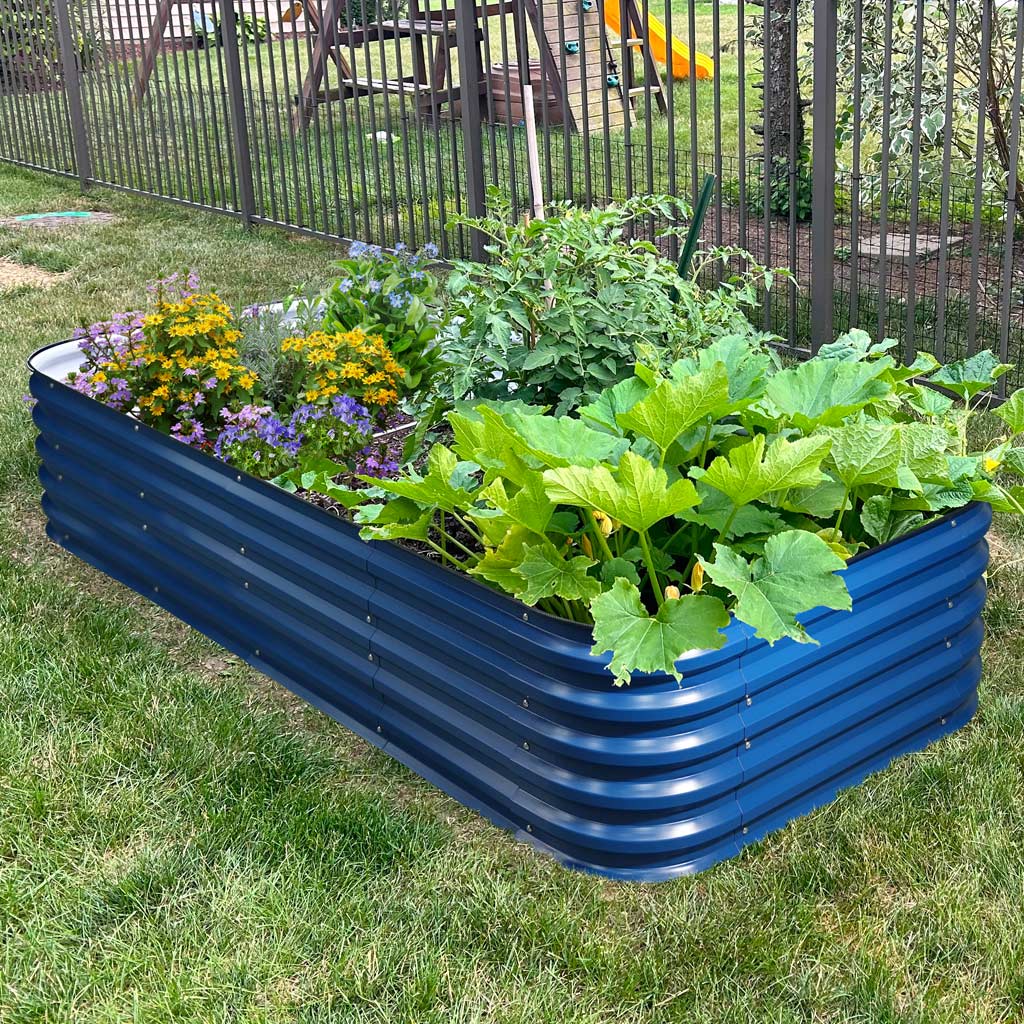
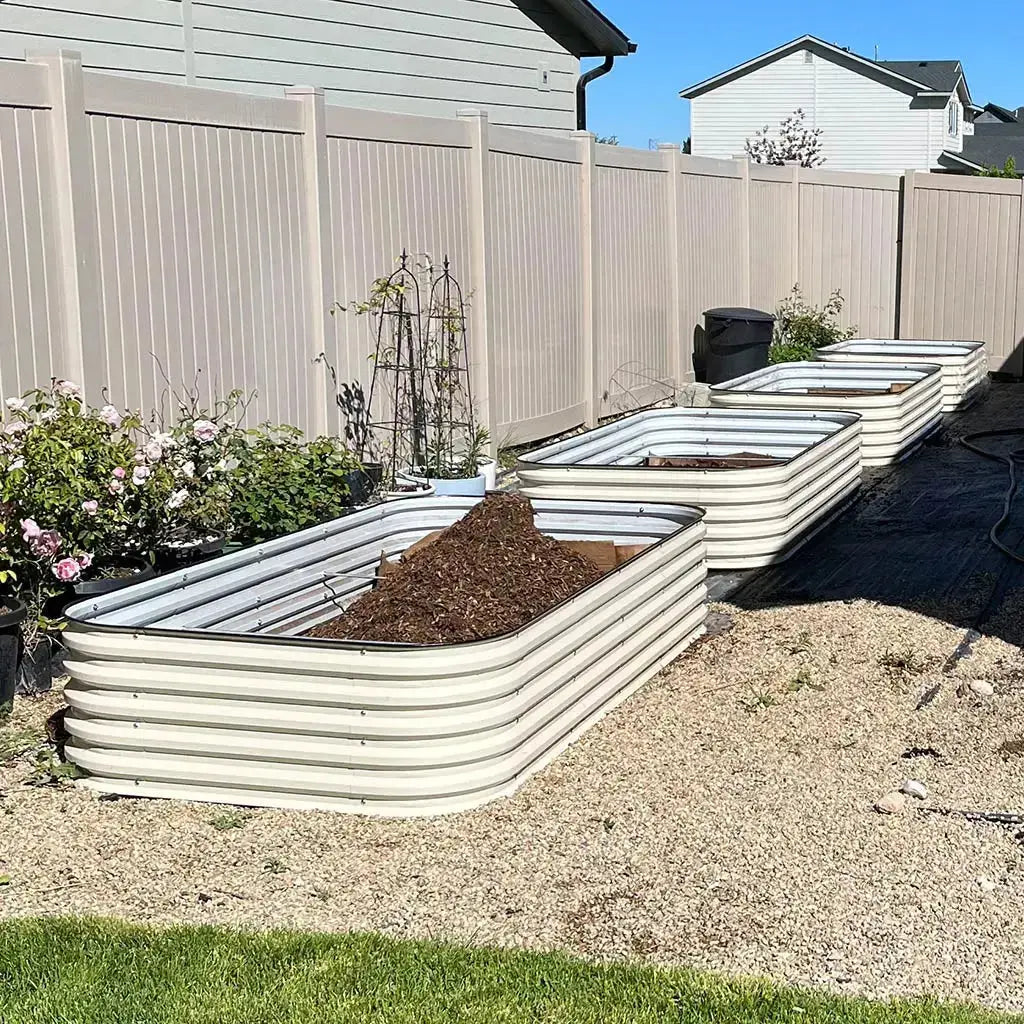
A 4x8 raised garden bed is the perfect solution for expanding your garden's potential. Alongside our popular 2x8 raised beds option, the 4x8 bed stands out as a top choice among home gardeners. Its generous size offers ample space to grow a variety of vegetables, herbs, or flowers—all in one well-organized area.
This layout allows you to maximize planting efficiency while maintaining easy access for watering, pruning, and harvesting. Whether you're a seasoned grower or just starting out, the 4x8 bed gives you the room and flexibility to cultivate a thriving garden season after season.
Benefits of using a 4x8 raised garden bed
Durable and Longevity
Surprisingly, our 4x8 raised garden bed is crafted from high-quality Zn-Al-Mg steel, known for its durability. As a result, the durable design ensures the bed is resistant to rust, so gardeners won't need to worry about repairs or replacements each year. This not only reduces maintenance costs but also minimizes hassle.
Better Drainage
Surprisingly, the 4x8 raised garden beds effectively improve soil drainage. Because the bottomless design avoids water pooling in the soil after rain or watering, preventing root rot problems caused by waterlogging. Good drainage helps maintain proper soil moisture levels while avoiding root disease and plant growth problems associated with standing water.
Pest Control
Because the raised garden beds are high off the ground, they effectively reduce plant infestations by ground pests. Many common pests, such as ants, snails, and subterranean bugs, have a harder time climbing this high. this design reduces exposure to pests, reduces damage to plants, and reduces reliance on chemical pesticides.
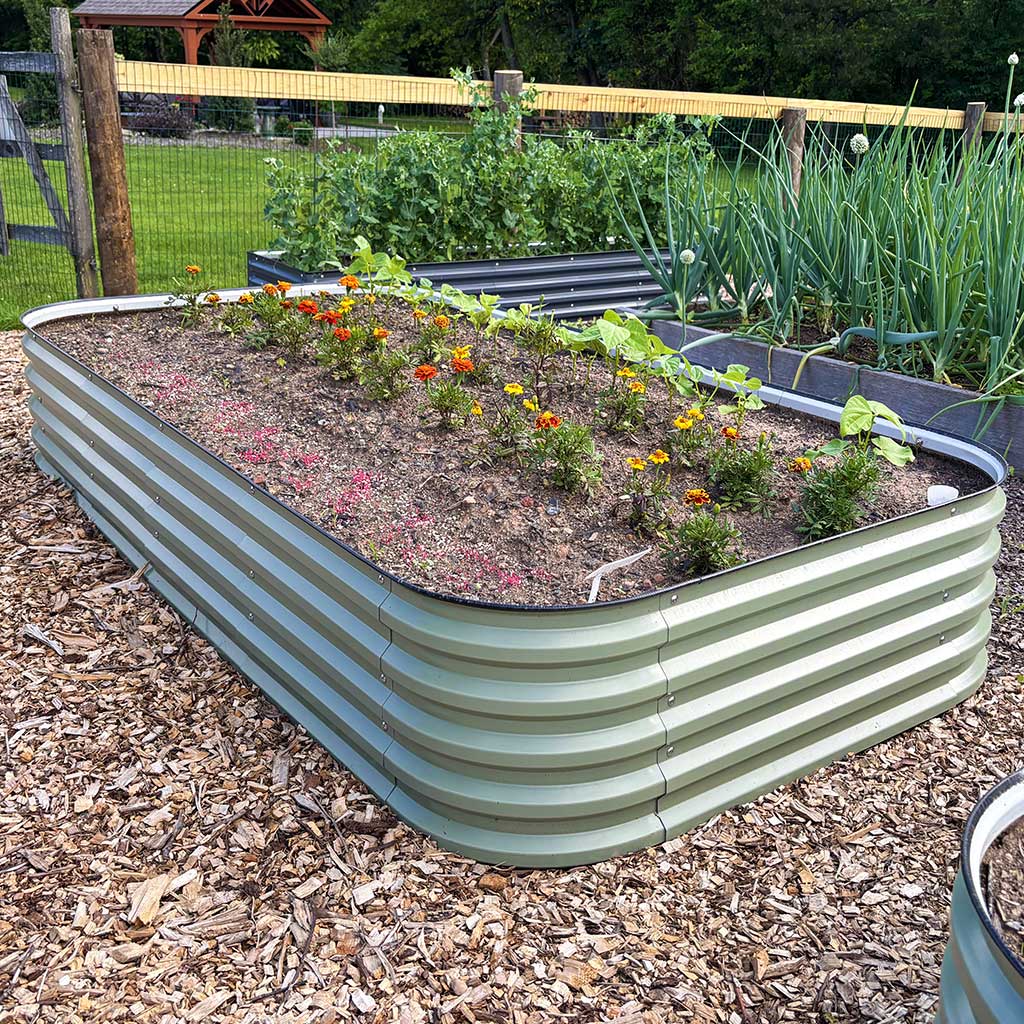
4x8 Raised Garden Bed Plans
Here are the steps to set an 8x4 raised garden bed:
- Firstly, choose a location by finding a sunny spot. Then, determine the size by selecting your bed dimensions. Next, select filler using logs, organic compost, and leaves.
- After that, prepare the soil by filling it with quality soil and compost, followed by planning the layout by arranging plants with companion planting in mind.
- Subsequently, install the bed by assembling and placing the raised bed, then plant seeds or seedlings following spacing guidelines.
- Moreover, water and mulch to keep the soil moist, and add mulch.
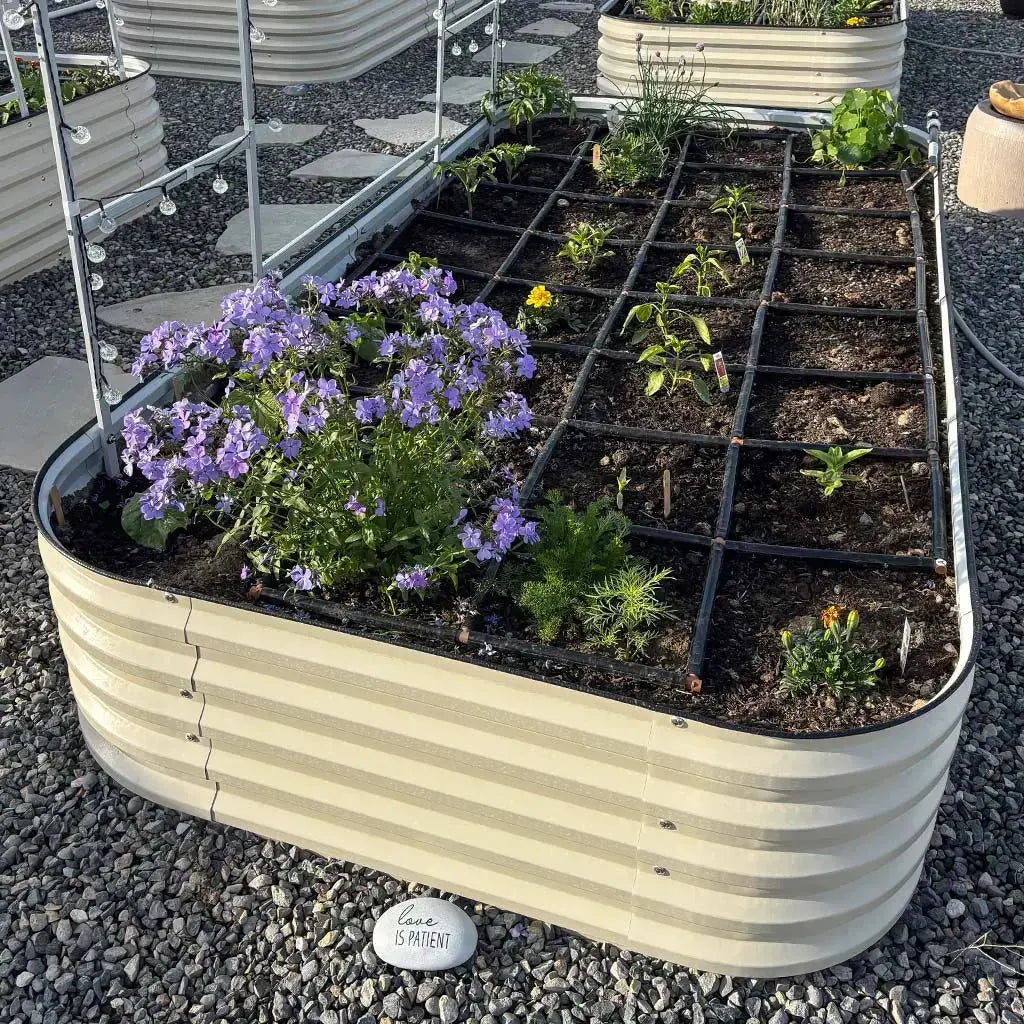
- Additionally, maintain the bed by weeding regularly and monitoring plant health, and finally, rotate crops by changing plant locations annually for soil health. As well, here is the 4x8 raised garden bed planting layout you may want to refer to.
How to Maintain the Worm System
Once the bed is set up, it becomes a living ecosystem. Here’s how we maintain it:
- Feed Regularly - Add food scraps weekly, but avoid citrus, onions, dairy, meat, and oily foods.
- Keep It Moist - Soil should feel like a wrung-out sponge, not too dry or soggy.
- Provide Shade - Worms dislike heat and direct sunlight. Mulch and plant cover crops to help.
- Turn Gently - Mix top layers occasionally to distribute food and encourage airflow.
How Much Worm Castings to Add to a Raised Bed

This is a very good question. Worm castings are nutrient-dense and powerful, so a little goes a long way. Here’s a good rule of thumb:
- For New Beds - Mix 10-20% worm castings into the top 6 inches of soil.
- For Established Beds - Side-dress plants with 1/2 cup to 1 cup of castings per plant.
- For Seedlings - Use 1 part castings to 3 parts soil mix for germination trays.
One of the greatest benefits of using metal raised beds is that you can easily move them around to give your plants the best growing conditions. However, certain things may be harder to "manipulate" – in this case, the soil. You may be dealing with heavy soil, preventing your plants from achieving their ultimate form. Fortunately, this is where vermiculite for plants can make all the difference.
As you know, heavy soil can suffocate your potted plants, leading to root rot and other issues. That said, vermiculite can easily lighten the soil, reducing the occurrence chance of these issues.
Benefits of Worm Composting in Raised Beds

Worm composting in raised beds offers year-round benefits:
- Constant nutrient supply for plants
- Reduced kitchen waste
- Improved plant health and disease resistance
- Better soil texture and water retention
It’s also a fun and educational project, especially if you have kids who want to learn more about nature.
Common Questions About Bed Worm Systems
1. Can worms survive the winter in raised beds?
Yes, especially European Nightcrawlers, which are more cold-tolerant. In colder climates, adding extra mulch or straw helps insulate the soil and keep the worms alive.
2. Will the worms leave the bed?
If the bed offers food, moisture, and shelter, worms will stay. Make sure the environment stays balanced.
3. Can I use both Red Wigglers and European Nightcrawlers?
Absolutely! Using both types gives us the best of both worlds - quick composting and deeper aeration.
Conclusion
Building self-fertilizing raised garden beds with garden worms is one of the smartest, most sustainable ways you can grow your plants. Not only does it eliminate the need for synthetic fertilizers, but it also creates a rich, living soil system that supports plants season after season.
By choosing the right worms, properly layering your beds, and maintaining the right conditions, you can create a thriving garden ecosystem that practically takes care of itself. Whether you grow tomatoes, herbs, or lettuce, garden worms are the silent partners every gardener needs.


