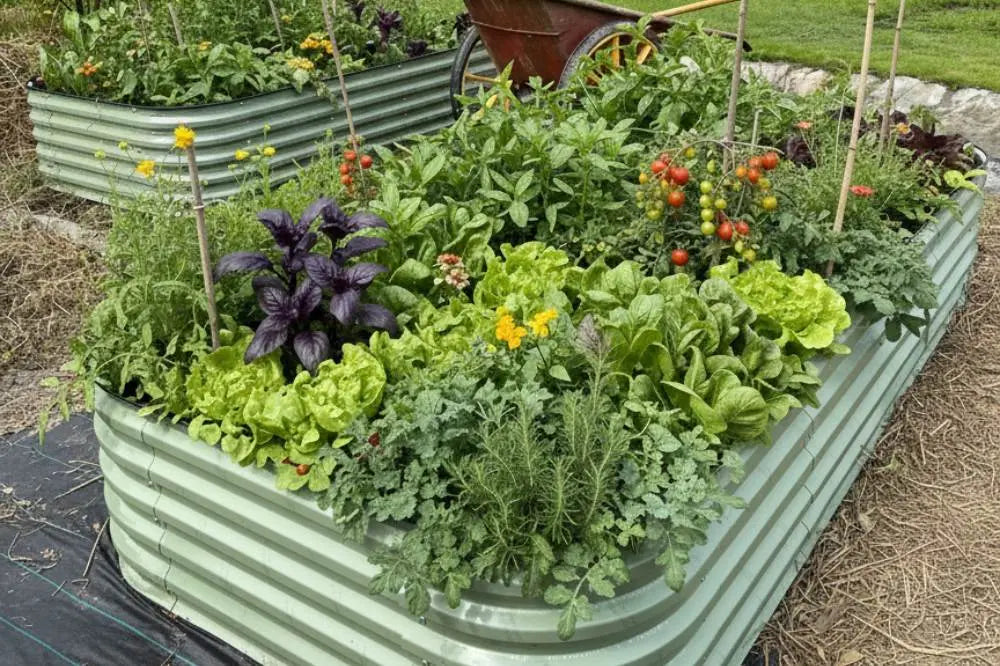
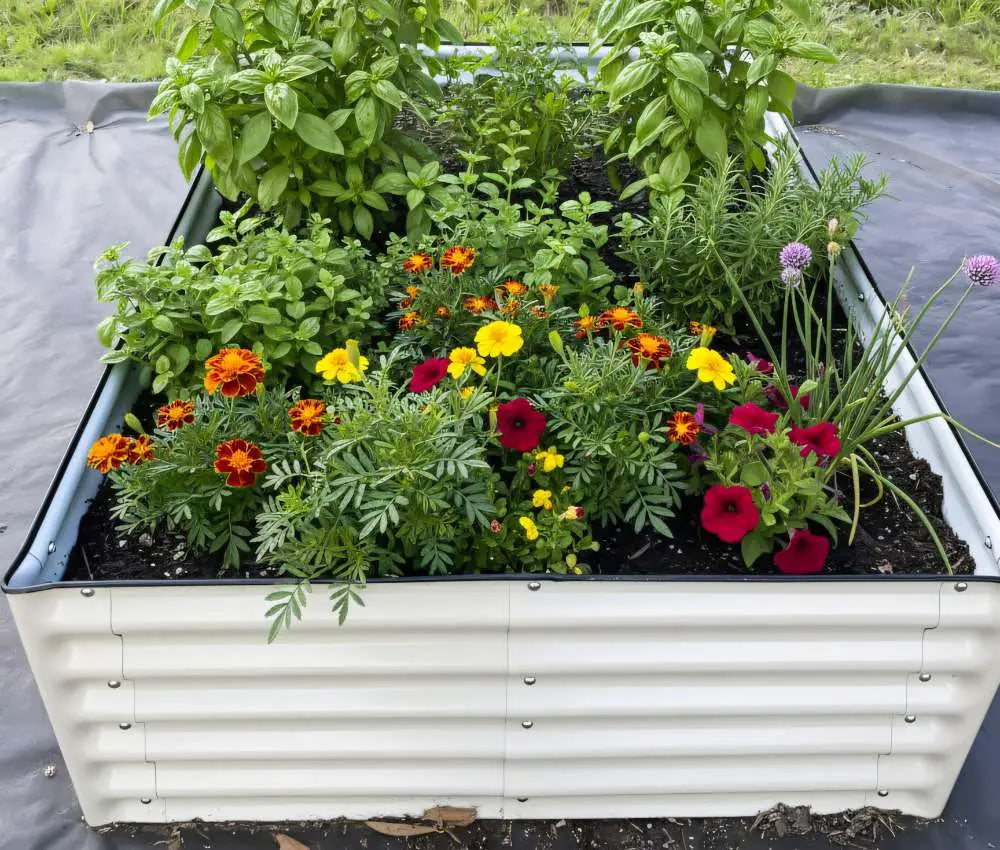
How to build a hugelkultur raised bed
Hey, you lovely garden enthusiasts! If you've ever dreamed of turning your garden into a self-sufficient oasis where plants party in rich, fertile soil, the hugelkultur raised bed is your golden ticket. Today, we're unraveling the secrets of crafting your own hugelkultur masterpiece. So grab a shovel, put on your gardening gloves, and let's dig in!
Why hugelkultur raised beds – what’s all the fuss about?
Before we start on our hugelkultur journey,let's decode the fuss. What's this magical word, you ask? Well, hugelkultur is a German term that roughly translates to "hill culture." It's like building a tiny, plant-filled mountain without altitude sickness. Need some more info? Take a look below.

It is the foundation that counts
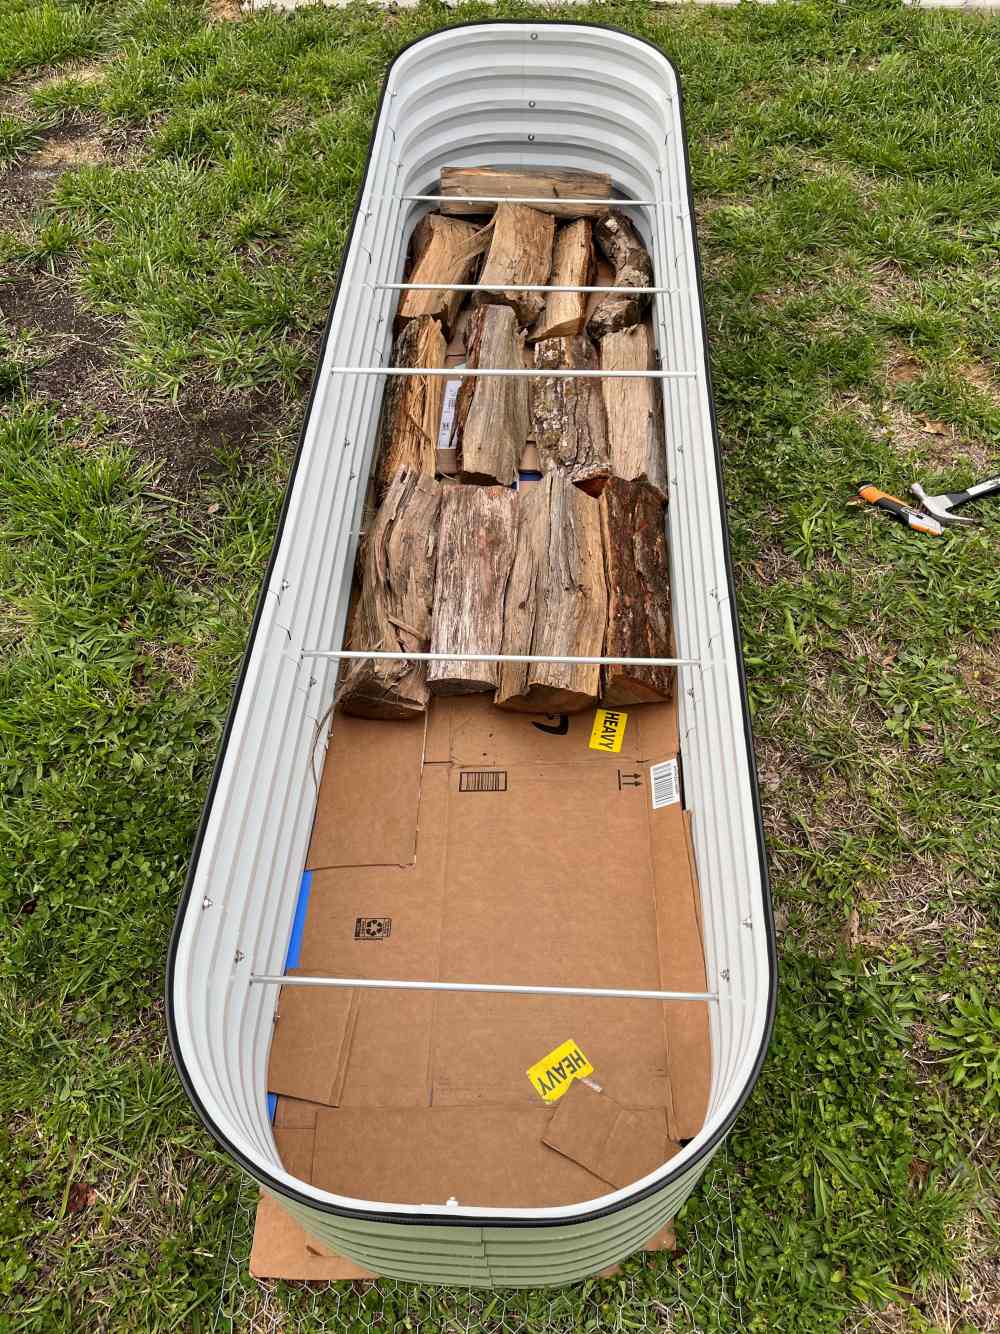
Think of your hugelkultur bed as the best spot in the house for your plants. The base, however, is where the real party begins. Start by laying down logs or branches – the bigger they are, the better your outcome will be. These logs not only act as the skeleton of your hugelkultur bed but also serve as moisture reservoirs. They soak up water like sponges at a car wash, ensuring your plants stay hydrated, even during the gardening equivalent of a drought.
Start by adding layers
Now, imagine your hugelkultur bed as a layered cake. After the logs, pile on leaves, straw, and whatever organic matter you can get your hands on. It's like assembling the perfect sandwich – the more layers, the tastier it gets. These layers break down over time, becoming a nutrient food for beneficial microorganisms. Let's learn more about the filler in hugelkultur raised beds.
How deep should a hugelkultur raised bed be?
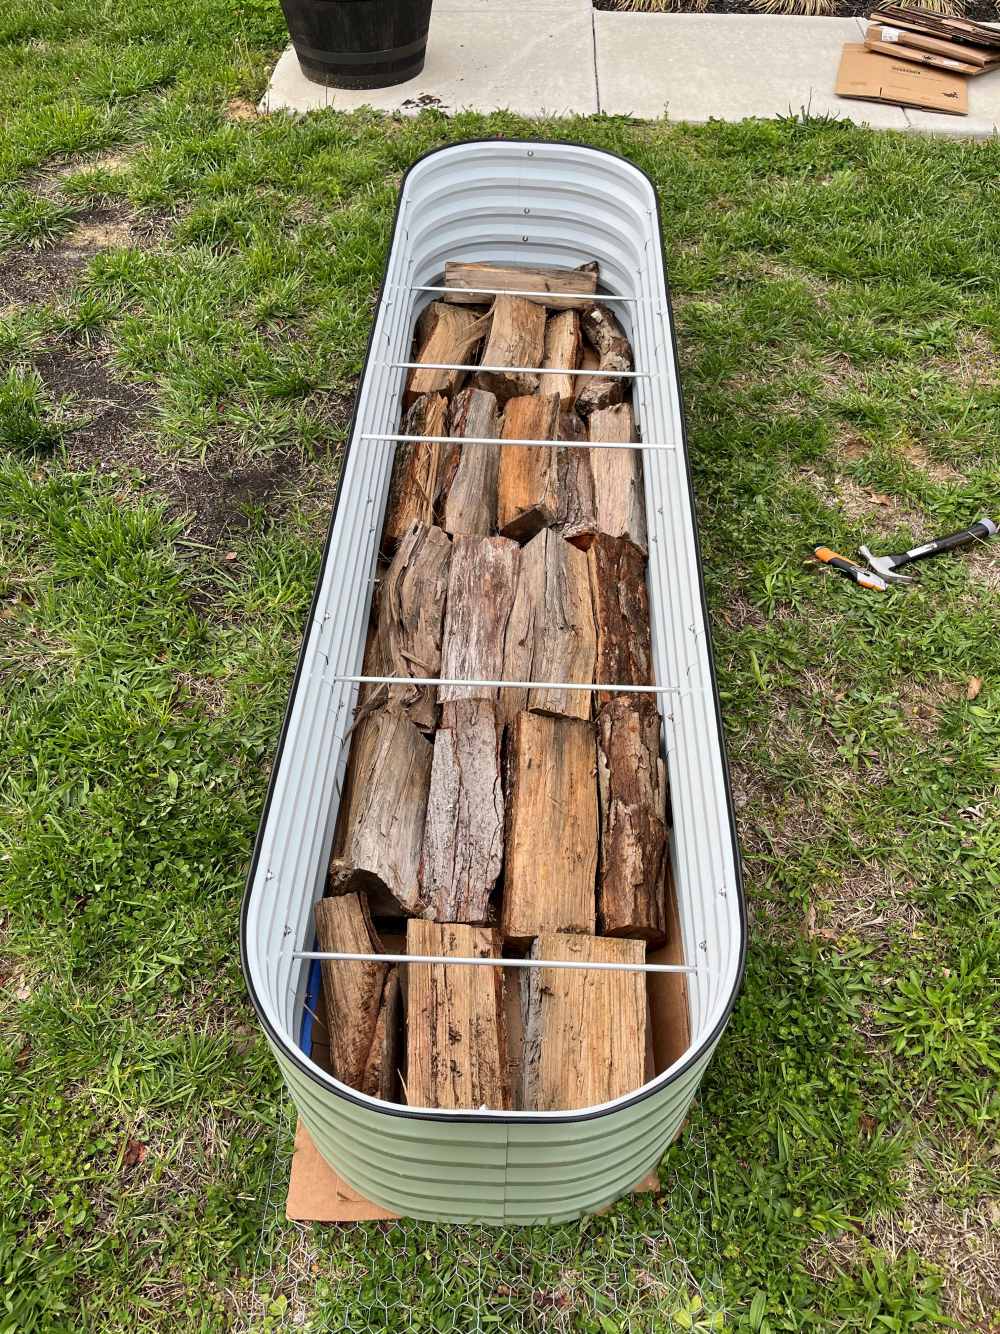
Rotting wood is a core component to create a self-fertilizing and moisture-retaining hugelkultur bed. Typically, logs are stacked to a height of around 3-6 feet, with the largest logs at the bottom gradually decreasing in size towards the top.
Covering the logs with a thick layer of organic materials like leaves, grass clippings, and compost, topped off with a layer of soil deep enough to support the desired plants.
The gradual decomposition of the wood provides long-term nutrient release and helps maintain a stable internal temperature within the bed, benefiting plant growth.
The ideal depth for a hugelkultur raised bed is 17 inches. This dimension allows for planting most flowers, vegetables, and herbs, accommodating both shallow-rooted and deep-rooted plants. But if your focus is primarily on growing herbs or lettuce, you might consider using an 11" tall raised bed in height to save space and maintain visual appeal.
While, Vegega's 32" tall raised bed offers ample room for plant root systems to expand, making it particularly friendly to crops like potatoes and tomatoes.
So, in essence, the choice of height for your raised bed depends on what you plan to grow, and it's best to select according to your requirements. Read more about the ideal depth for a raised bed.
How to build a hugelkultur raised bed
After the preparations come the time to learn how to build a hugelkultur raised bed! It might seem very tricky at first, but it is actually the easiest thing in the world (yes, we will mention the logs a few times, but hey – repeat it until you sing it!). Here is what you need:
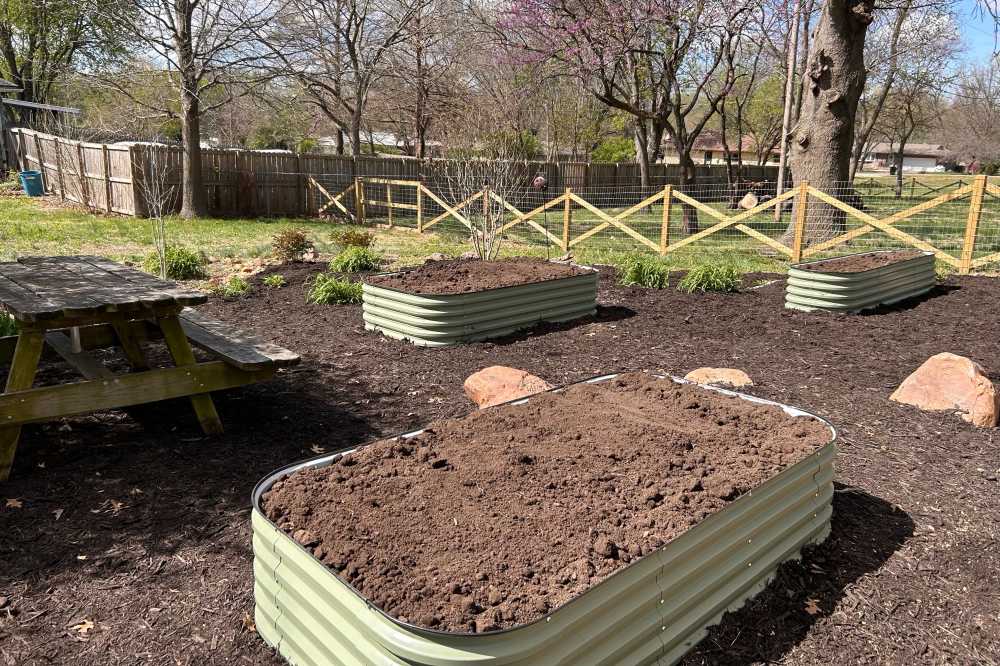
1. Choose the perfect spot
First, find the ideal spot for your hugelkultur bed, almost as if you’re house-hunting for your plants. Opt for a sunny location, and if possible, close to a water source. Your plants may not be picky, but they sure appreciate a convenient drink station. If you want to prevent gopher problems, consider install gopher wire before filling the hugelkutur bed.
Pro tip: If you're feeling extra ambitious, dig a trench where your bed will be. It's like rolling out the red carpet for your hugelkultur best crops.
2. Gather some logs
It is time to channel your inner lumberjack yet again! Gather those logs, branches, fallen trees– whatever you can scavenge. This is the backbone of your hugelkultur raised bed, the support system that'll keep your plant kingdom standing tall.
Pro tip: Don't worry about perfection. Embrace the wild, rustic charm of nature. It's like building a log cabin for your veggies.
3. Start layering
Pile on those layers once your logs are in place. Leaves, straw, kitchen scraps – whatever your compost heart desires. It's like giving your hugelkultur bed a cozy blanket to snuggle in.
Pro tip: Add a sprinkle of nitrogen-rich material like grass clippings or kitchen scraps. It's like tossing in some vitamins for your soil's health.
4. Prepare high-quality soil
For the pièce de résistance – the soil. Don't skimp on this part. You want a mix of good-quality soil, compost, and maybe a dash of fairy dust if you can find any. This is where your plants will set their roots, so make it a five-star experience.
Pro tip: Mound the soil on top, creating a slight hill. It's the cherry on your hugelkultur gardening experience, providing extra drainage and aeration.
What's next for hugelkultur gardening
Let's talk about the harmonious dance between your bed and the art of hugelkultur gardening. It's like a symphony of nature, where every element plays its part in creating a masterpiece of sustainability.
The magic of self-watering
Remember those logs acting as moisture reservoirs? Your hugelkultur raised bed is practically a self-watering system. It's like having a personal assistant ensuring your plants stay hydrated, even when you're sipping iced tea on the porch. Though in the initial stages, water regularly. Once your bed is settled, it becomes the Aquaman of gardening.
The hugelkultur raised bed layers
The layers in your hugelkultur bed aren't just for show. As they break down, they become a playground for beneficial microorganisms. It's like throwing the best party in town and inviting all the cool kids. If you can, try to avoid chemical fertilizers. Let nature's own chefs create a gourmet feast for your plants.
The insulation is good
The hugelkultur raised bed works for you throughout the year, not only through the warmer months. The temperature is maintained thanks to the natural insulation, and it keeps your plants cozy during summer and winter. If you want to add some extra insulation, leaves or straws on top will do the trick!
That’s almost all you need to know about the hugelkultur raised beds (at least as a beginner). You are now one step closer to creating some wonders. However, before you go, there are a few more things you can do to make your entire hugelkultur gardening experience even better.
- Once you’ve prepared your hugelkultur bed, it is time to start planting! You can either start small or go all out – the choice is yours! Oh, and don’t hold back on plant combinations – do whatever your heart pleases!
- A daily check-up - gardening is much like caring for a child. You nurture it, watch it grow, and enjoy every minute of it. So give your plants the exact same care! If you don’t know where to begin, check their moisture level regularly and adjust properly – they will be thankful you did.
How to prevent termites from my hugelkultur bed
If you are concerned about attracting termites or other wood-boring insects like ants or beetles when taking the hugelkultur method to fill the raised bed. Here are some strategies to prevent termite infestations in your hugelkultur bed:
Use partially rotted or seasoned logs
Choose wood that has already started to decay or has been seasoned for at least a year. Termites are more attracted to freshly cut, moist wood. Partially rotted or well-seasoned wood is less appealing to them and may also decompose faster, providing nutrients to your plants sooner.
Avoid using wood from known termite-infested areas
If possible, source wood from areas where termite activity is low or nonexistent. Avoid using wood from trees that have recently shown signs of termite damage or from stored lumber that might harbor termite colonies.
Create a physical barrier
Before adding the wood layer to your raised bed, consider laying down a sheet of stainless steel mesh to create a physical barrier between the wood and the surrounding soil. This can help prevent termites from accessing the wood from below.
Incorporate nitrogen-rich materials
Mix nitrogen-rich materials like grass clippings, green leaves, or aged manure with the wood. The high nitrogen content can help accelerate decomposition and deter termites, as they prefer lower-nitrogen environments.
Maintain good garden hygiene
Keep the area around your raised bed clean and free of debris, especially wood debris. Regularly inspect and remove any fallen branches, stumps, or other potential termite habitats nearby.
If you already have a termite infestation in your hugelkultur bed
- Remove affected logs: If possible, carefully excavate and remove any heavily infested wood pieces from the bed. Dispose of them according to local regulations, and replace them with fresh, partially rotted, or seasoned wood as described above.
- Apply natural deterrents or treatments: Various natural remedies can help deter or control termites, such as neem oil, diatomaceous earth, or essential oils like clove, garlic, or orange. Apply these substances according to manufacturer instructions or expert recommendations, being cautious not to harm your plants or beneficial organisms in the soil.
Conclusion
So there it is – creating your own hugelkultur raised bed has never been easier! You know how to build it and what to plant – all you need to do is begin! If you're hungry for more gardening wisdom, check out our other articles on the magic of raised beds and much more! We are happy to help you expand your gardening knowledge!

